
Faculty Management: Assigning Faculty Status, Role, and Department
Last edit date: 1/27/2026
Audience: Deans and College Business Managers
Purpose: Use this guide to assign faculty status, role, college, and department in RamPortal using the Faculty/Advisor Info (SIAINST) page.
Navigation
- If working off campus, connect to the WCU VPN first.
- Login to RamPortal using your WCU Single Sign On (SSO).
- Locate the Faculty Management card on your home page.
- Select Faculty/Advisor Info (Fig 1).
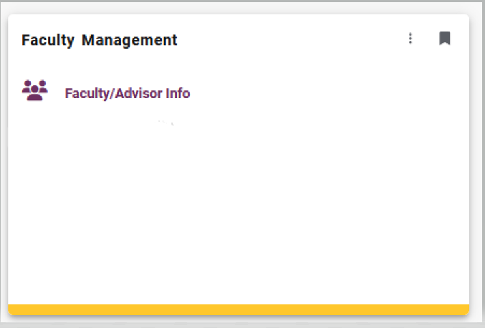
Fig. 1 - Enter the faculty member’s ID, the Term the faculty assignment is effective, and select Go (Fig 2).
Tip: If you don’t know the ID, see the Search for Faculty Member section at the end of this guide.

Fig. 2
Initial Faculty Setup
Use this when adding a faculty member for the first time. See Fig. 3.
- Verify the Term is set to the term the faculty assignment is effective.
- In the Status field, select the ellipsis (…) to view available status options. Choose the appropriate Status, if needed.
- Select the Faculty and/or Advisor checkbox to assign the appropriate role(s).
- Select Save.
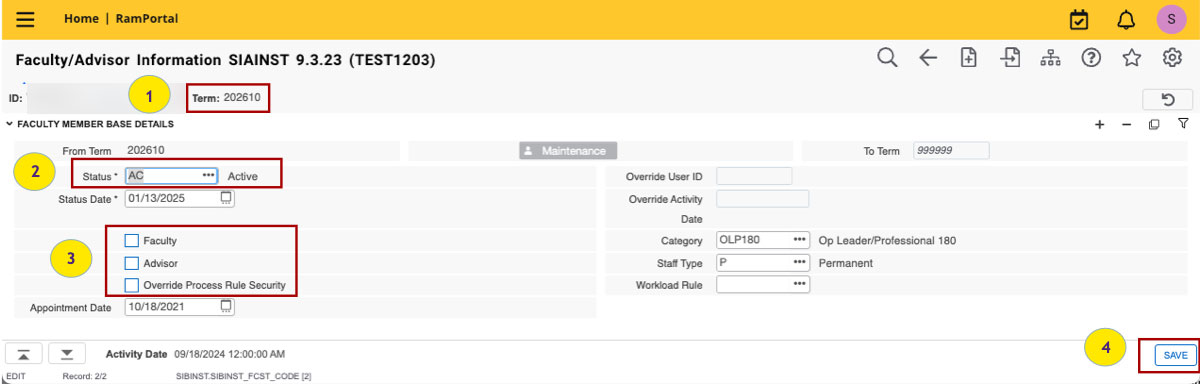
Fig. 3
Update an Existing Faculty Record
Use this when a faculty member is already set up and changes are needed.
- From the SIAINST page, verify the effective Term in the key block is correct (Fig. 4).
- Select the Maintenance button if it is blue (Fig 4). If it is grey, skip to Step 3. See About the Maintenance Button and Terms below for more details.
- Update the faculty Status, Role, College, and/or Department as needed.
- Update Status: select the ellipsis (…) to view available options. Choose a status and click OK.
- The Status Date should populate with the current date.
- Select or clear the Faculty and/or Advisor checkboxes to update roles.
- See Assign Faculty College and Department section below for more details.
- Select Save.
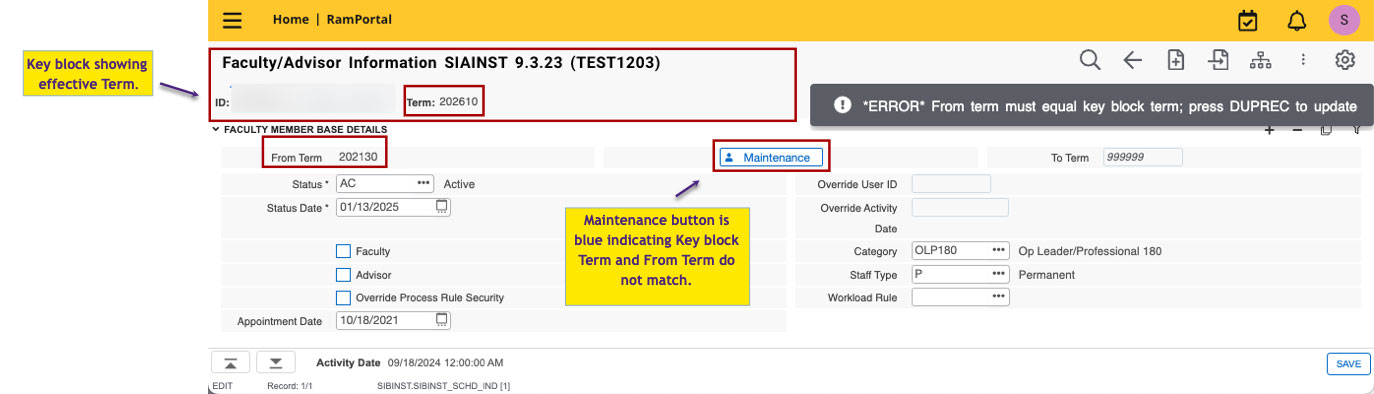
Fig. 4
About the Maintenance Button and Terms
This information applies when updating or changing an existing faculty record.
In SIAINST, the fields at the top of the page make up the page’s key block. The Term entered in the key block is the effective term.
- If you see a message “*ERROR* From term must equal key block term; press DUPREC to update” (see Fig. 4), this means that the record you are viewing is from a different Term than the Term you entered in the search.
- A blue Maintenance button means there is a term mismatch (see Fig 4).
- For existing faculty, the From Term will display a previous term.
- For new faculty with no prior record, the From Term may display as 000000.
- Selecting Maintenance will copy the record forward. This auto-populates the effective From Term to match the selected Term. The To Term can remain as 999999.
- A grey Maintenance button means the record already matches the selected Term and can be edited directly.
Assign Faculty College and Department
Use this when assigning or updating where a faculty member teaches.
- From the SIAINST page, confirm the effective Term in the key block is correct.
- Use the Navigation down arrow at the bottom left of the page to move to the Faculty College and Department block (Fig 5).
- Select the Maintenance button in this block if it is blue and choose Copy Faculty Coll/Dept.
- This copies the existing college and dept forward to the selected Term.
- If the Maintenance button is grey, continue to step 4.
- Update the Faculty College and Department rows as needed:
- Click into the College field, select the ellipsis (…), choose the College, and select OK.
- Click into the Department field, select the ellipsis (…), choose the Department, and select OK.
- Use the Add (+) icon to add a new college or department row.
- Use the Remove (-) icon to remove outdated college or department information.
- Select the Home department if multiple departments are listed.
- The Percentage field can be left blank. It is not currently being used.
- Select Save.
- A confirmation message will display when the update is successful.
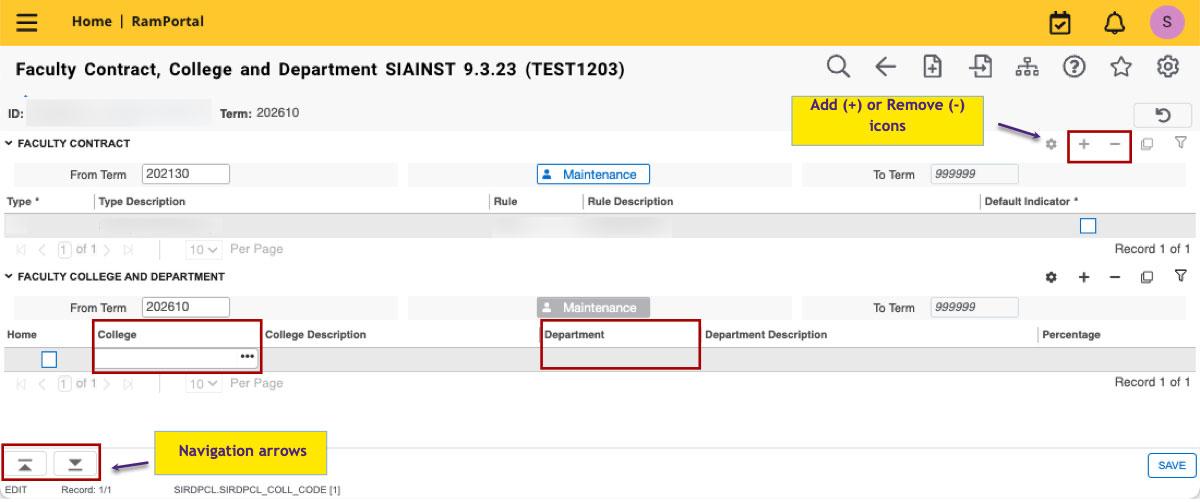
Fig. 5
View Faculty Contract History
Use this to view a faculty member’s contract history in SIIINST and identify the term needed to review college and department assignments in SIAINST.
- From the RamPortal Search card, search for SIIINST and select Faculty Information Query.
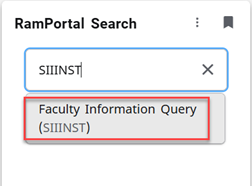
Fig. 6 - Enter the faculty member’s ID.
- You can leave the Term field blank and select Go.
- Review the contract history in the Faculty Information Query block (Fig 7).
- Focus on rows that include a Category value.
- Rows without a category value can be disregarded.
- Note the Start Term (Fig. 7).
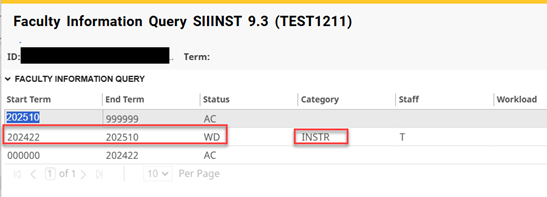
Fig. 7 - To review the college and department assignment, return to Faculty/Advisor Info (SIAINST). Enter the Faculty ID, the Start Term from SIIINST and select Go.
- Use the navigation down arrow to move to the Faculty College Department block to review the assignments for that term.
Search for Faculty Member
Use this when you don’t know the faculty member’s ID or when adding a faculty member for the first time.
- In the ID field, select the Search (…) icon.
- Choose Person Search.
- Use Person Search when initially adding a faculty member, since the individual has not yet been assigned the faculty role.
- Faculty/Advisor Seach can be used after the person is set up as faculty.
- On the Person Search (SOAIDEN) page, enter the last and first name and select Go.
- Locate the faculty member in the results and click select. You will be returned automatically to the SIAINST page with the ID populated.
For additional assistance, submit a ticket for support.