

My Planner
My Planner is a tool that allows you, the student to, create personalized semester course plans, review the plan with your academic advisor, and schedule your upcoming classes. When used in conjunction with your Degree Progress Report (DPR), provides an overview of your progress towards completion of your degree requirements. Planning your future courses will help departments better analyze and meet student course demand.
Tile Navigation: Degree Progress>my Planner
Adding Courses to the Planner:
- Click the Degree Progress Tile

- Choose “my Planner” from the Menu List.

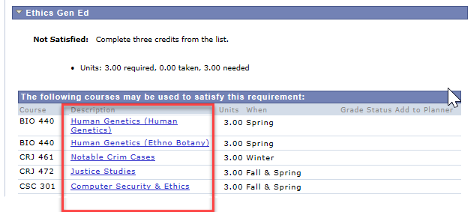
- Within your Planner choose Plan by My Requirements (links to your DPR) to choose classes based on your Plan (Major) and your outstanding requirements and “Add to Planner” the courses you would like to take to satisfy those requirements. Using the symbols below as a guide to your plan.

- “Add to Planner” the courses you would like to take to satisfy your degree requirements. By clicking on the course description of the course desired.
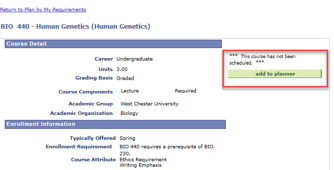
- When the course desired is open, click “add to planner.”
Moving Courses to Specific Semesters:
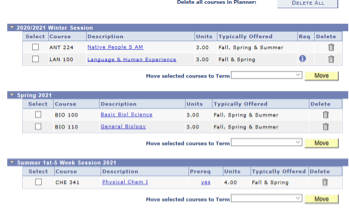
- Once desired courses are added to planner, courses can be moved to a particular semester.
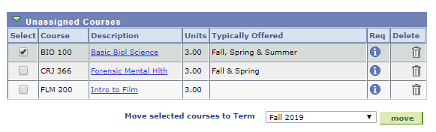
- Within my Planner assign each “Unassigned Course” to a specific term.
- Click the box to select the course, identify a term from the drop down, and click “Move”.
- Take into consideration the ordering of courses that have pre-requisites.

Scheduling Courses from the Planner:
- Once your courses have been moved to specific semesters, you can enroll right from my Planner.
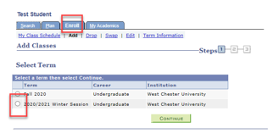
- Choose the Enroll tab and choose the semester that you would like to enroll by clicking on the circle to the left of the semester then click “continue.”
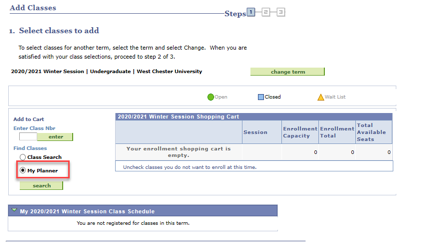
- Under Find Classes, click the circle to the left of My Planner.
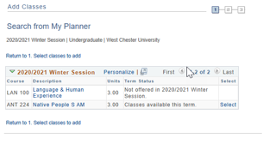
- In My Planner, choose the class you would like to take. If the class is offered during that semester, “select” will be available to click.
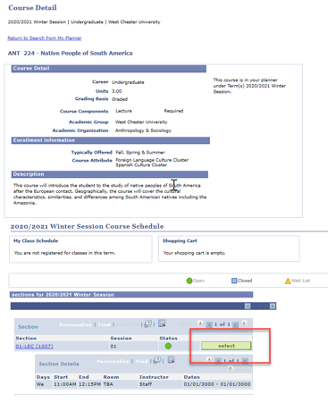
- Once the class is selected, a description of the class will be shown along with the times that it is being offered. If the time works for your schedule, click the “Next” button.

- The class will show on your schedule, however, to complete the enrollment, you must click “proceed to step 2 of 3.”
Content Manager: Registrar's Office